Instructions for Taking a Screenshot on a Mac
There are various reasons why taking a screenshot is useful, and it is a simple task on multiple devices, including Macs. The key lies in knowing a few keyboard shortcuts, which allow you to easily capture what is on your screen. Additionally, you can also save specific sections of your display or record your screen. This article provides all the methods for taking a screenshot on a MacBook or Mac desktop.
How to take a screenshot of the entire screen
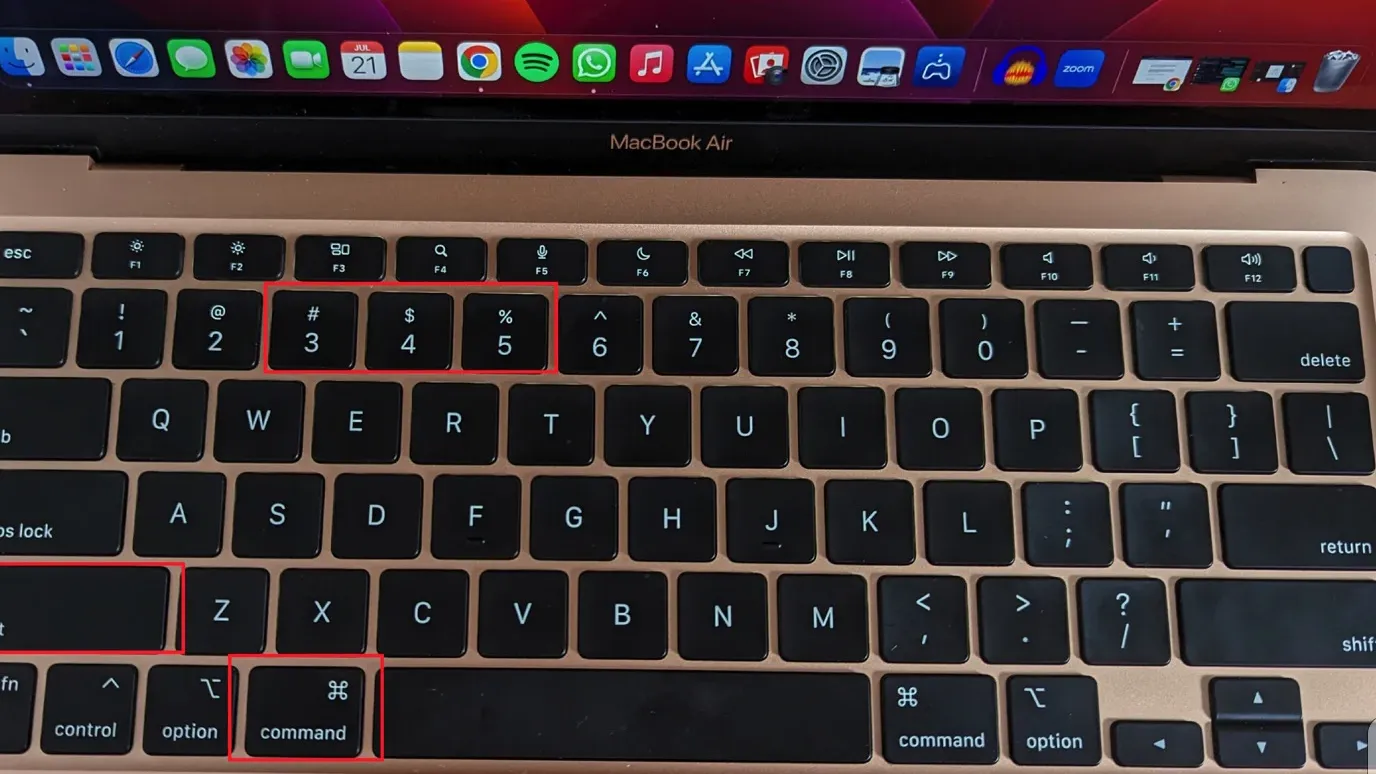
If you just want a screenshot of the entire screen, just press: Command (⌘), Shift and 3. By default, the image will appear on your desktop for easy access.
How to capture part of the screen
If you want to capture part of the screen, press Command + Shift + 4. A crosshair cursor will appear and you can choose in the gray box which part of the screen you want to capture.
If you hold down the space bar after selecting part of the window, you can move the cursor to select which part of the screen you want to capture.
To take a screenshot of the entire window, press Command + Shift + 4, hover over that window, and then tap the spacebar. The camera icon will appear and the window will turn gray to indicate that it is selected. Click on the screen and you will get a picture of the window you selected. (Choose option (⌥) if you want to get rid of border edges.)
Customizing the screenshot experience
If you don’t remember the keys to take a screenshot of the entire window or a specific section, there’s an even easier way to take a screenshot on your Mac. Press Command + Shift + 5 to open the toolbar (or open the screenshot tool from Spotlight).

This gives you several options, such as taking screenshots of videos and even recording your screen. For a more customized experience, click Settings to set a timer for your screenshot and select the folder where you want to save the image or video. This toolbar also lets you do basic things like take a screenshot of the entire screen or just a specific window.
Bonus Touch Bar for MacBook
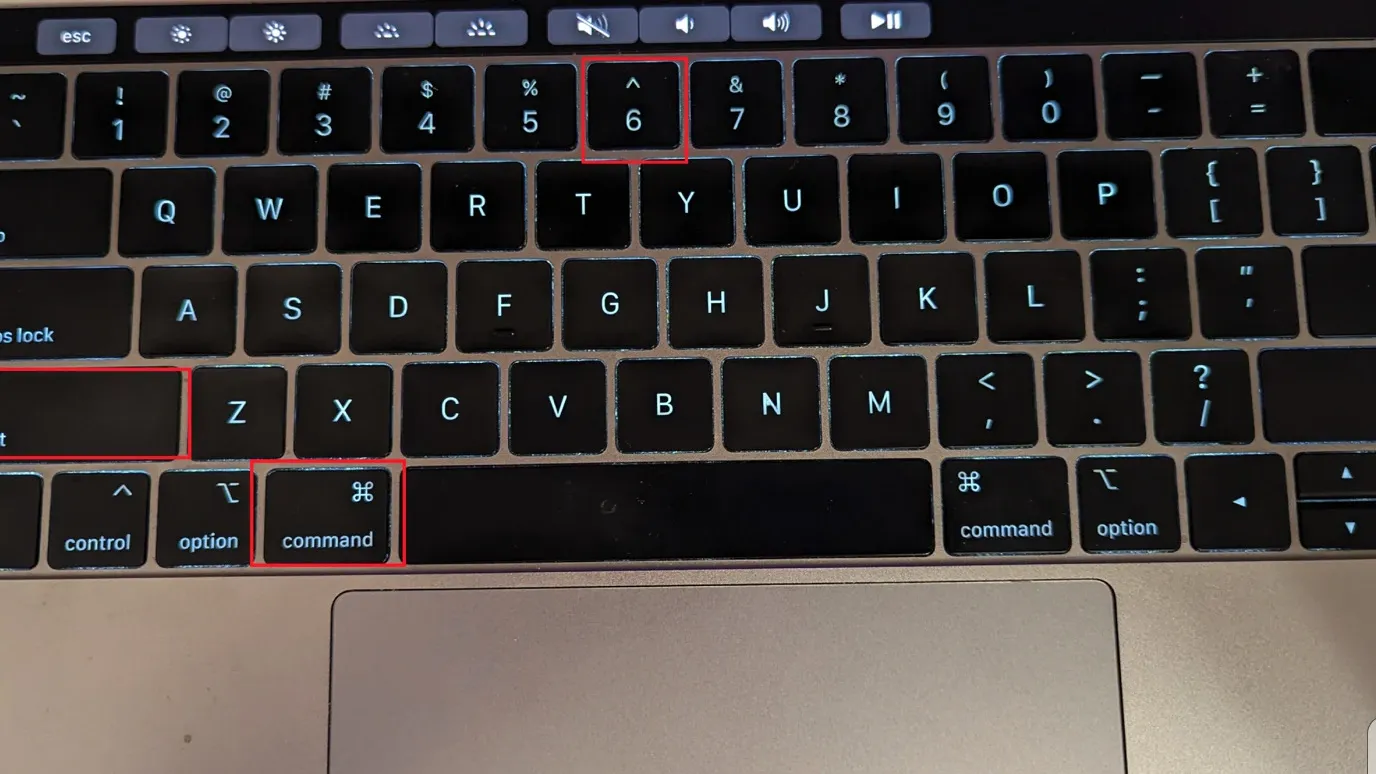
MacBooks with a Touch Bar have the ability to take a screenshot of the bar itself: press Command + Shift + 6 to do so.