Protecting your Apple ID with security keys: A step-by-step guide
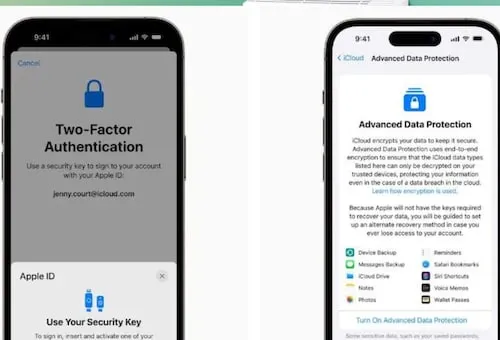
US tech giant Apple recently released a new security feature to help users protect their Apple ID account. The company introduced Security Keys, a physical device that can authenticate your Apple ID instead of a password. This new feature is considered the most secure way to protect your Apple ID.
With the release of iOS 16.3, iPadOS 16.3, and macOS Ventura 13.2, Apple introduced support for security keys or physical devices that can verify your Apple ID instead of a password. To enable this feature, users need to configure it in the device settings. With cyber threats on the rise, it’s critical to take steps to protect your online accounts, and this new feature from Apple provides an extra layer of protection.
With security keys, even if someone knows your Apple ID and password, they still can’t access your account without your physical security key. The security key replaces the verification code in traditional two-factor authentication and provides an additional layer of protection. This means your Apple ID is even more secure and less vulnerable to hacking attempts, MacRumors reports.
this is how it works
When a security key is enabled, signing in to an Apple ID requires entering your account password and then using the security key to complete the two-step verification process, instead of the traditional six-digit verification code sent to another Apple device signed in to the account. same account.
After you set up security keys, you can use them to sign in with your Apple ID on a new device or online, reset your Apple ID password, and add or remove additional security keys from your account.
How to Enable Security Keys on iPhone and iPad
-Launch the Settings app on your iOS device.
– Tap your name in the Apple ID banner.
– Tap on Password and security.
– Tap Security Keys.
– Tap the blue Add Security Keys button and follow the on-screen instructions.
settings
If you want to remove security keys from your Apple ID account, you can follow the same steps as when you set them up. Once you are in the “Security Key” section, click “Remove All Security Keys”. This will return your Apple ID account to use the traditional six-digit verification code for two-factor authentication. It’s a simple process and you can always re-enable security keys in the future if you want.
Read all the Latest Tech News here.


