iPhone users can now access Apple’s Journal App
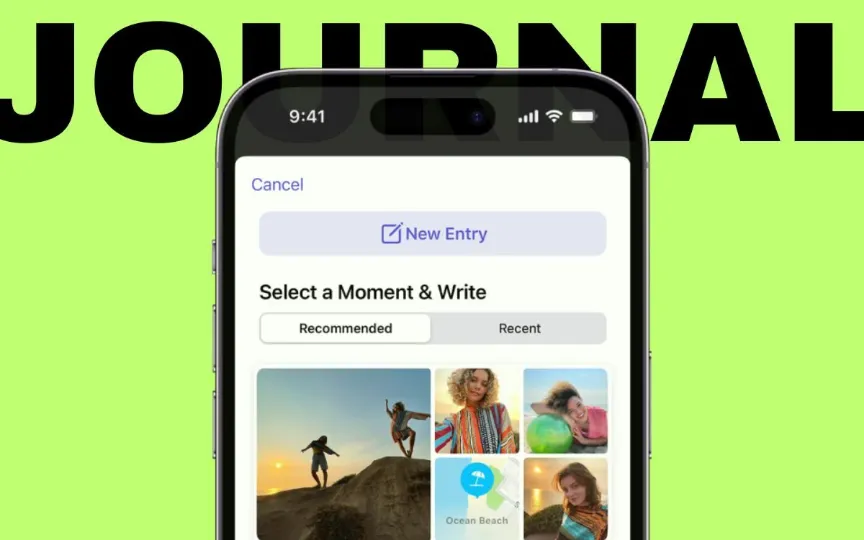
Last year, Apple finally released its long-awaited Journal app, which was first introduced during WWDC in June 2023. It’s meant to be used as an app for practicing gratitude and easily documenting life. It allows users to add “moments” from their own lives. device information that includes photos, locations, and even workouts. This will make it easier to add these events to your diary, help you create healthy habits and organize your thoughts in one place.
“The device’s machine learning provides private, personalized suggestions to inspire journaling, and customizable notifications help users develop their writing habits. With the new Journaling Suggestions API, third-party journaling apps can also suggest moments for users to write about,” notes Apple.
In addition, another intuitive feature brought by the application is the option to enable secondary authentication. Simply put, you can lock the Journal app with your device’s password or biometric authentication like Face ID or Touch ID. Additionally, Apple says that all Journal app entries are end-to-end encrypted when they’re stored in iCloud, so they can’t be accessed by anyone other than the user.
The Apple Journal app: how to use it
As mentioned earlier, the app was released with the iOS 17.2 update. This means you need to be running iOS 17.2 and above to use the app. Therefore, if you haven’t already done so, update your iOS.
With that out of the way, here’s what you’ll write in your Journal app:
1. Find and open the Apple Journal app. If you can’t find it, you may have deleted it, but you can download it again from the App Store.
2. In the Journal app, tap the + button.
3. Now tap on New entry. Here you can choose a diary proposal or a reflection prompt.
4. Start writing, adding media files and more.
5. You can even add audio recordings to create a live account of the same.
6. When you’re done, tap Done.